
0
How to add a CData custom connector as a data source
A step-by-step guide on how to add a CData custom connector as a data source.
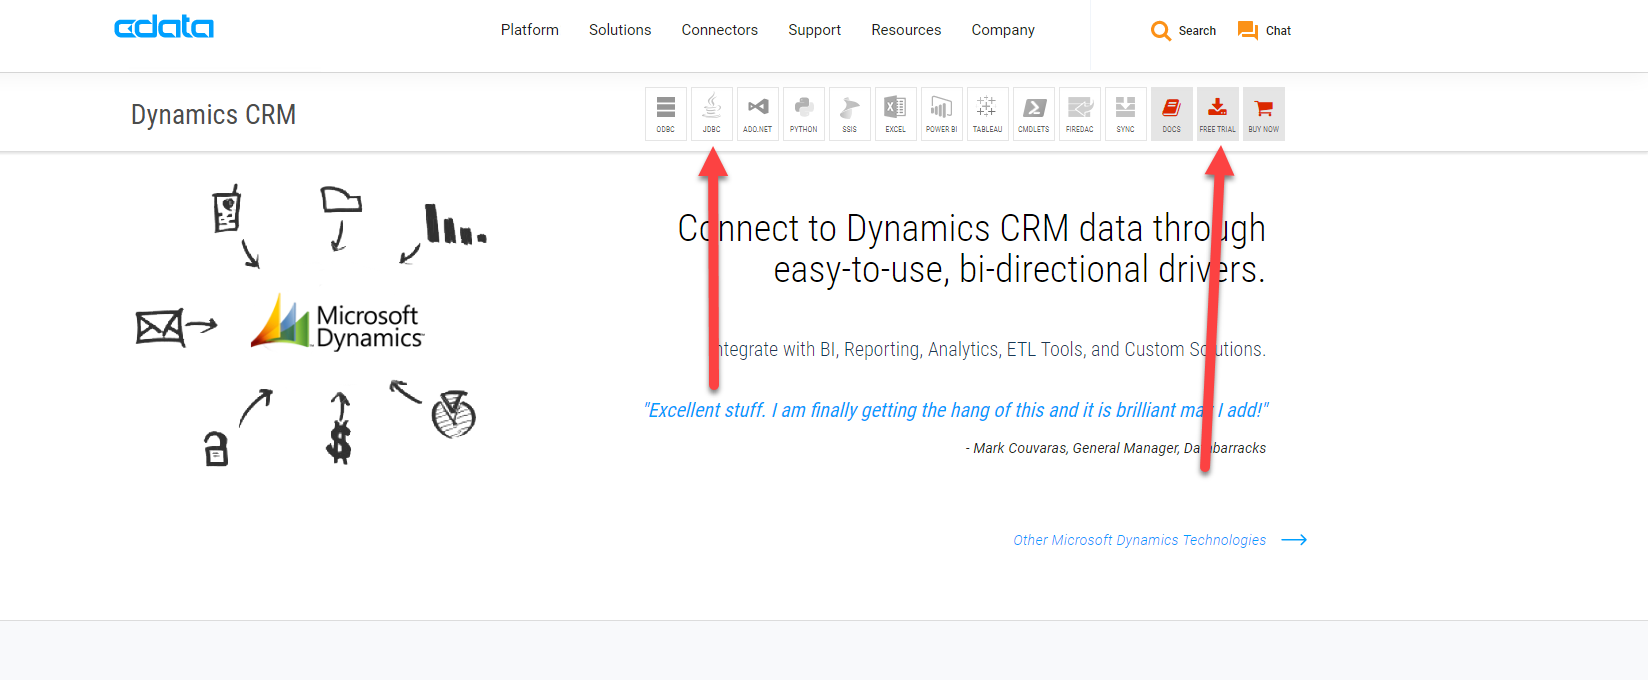
- Download the Java JDBC driver for the data source you want to connect to.
(Click here for a complete list of the different data sources that CData supports) Run the installer to extract the JAR file.
- To see the list of connection properties you can use, open the CData jar using JAVA.
To do this:
Open a command prompt on the Pyramid server and point to the location of the extracted JAR file. And where JAVA is installed - Fill in the connection properties that you want to use.
E.g.
Once all details have been filled in, click on the "Test connection" button to make sure it works.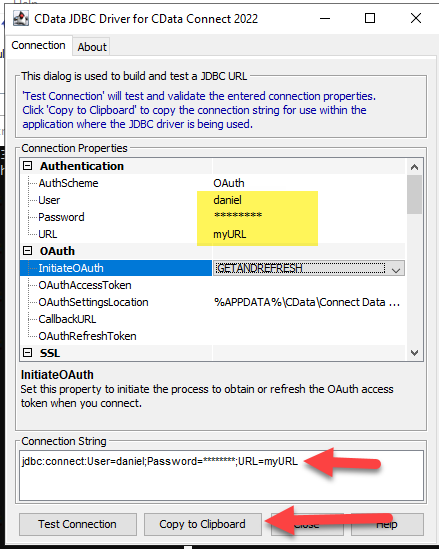
Then click on "Copy to Clipboard" to copy the connection string.
- Go to custom connectors in Pyramid (admin>data>custom connectors)
and add a new one and upload the downloaded driver.
- Paste in the connection string from the CData you just copied
CData RTK is a license key.
You'll need to contact CData and ask them for a trial license.
- Change all parameters to a relevant name wrapped in curly brackets {} as shown below:
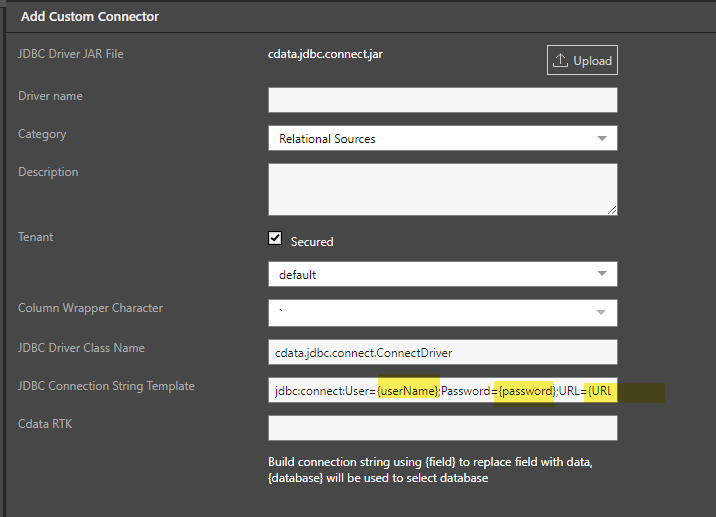
The best practice is to use these name conventions as your parameters:
database, user, password, port, ip
This is not mandatory but preferred.
- Click on apply and add the custom connector.
- In Add Data Source, add the new data source like any other by filling out all the relevant connection details.
(admin>data source)
For more information about setting up the connectors, please see our Help.
For more information about the CData drivers and their documentation you can refer to this link, choose the driver you need, and then click docs as shown below:

Reply
Content aside
- 3 yrs agoLast active
- 739Views
- 1 Following
Related Articles